
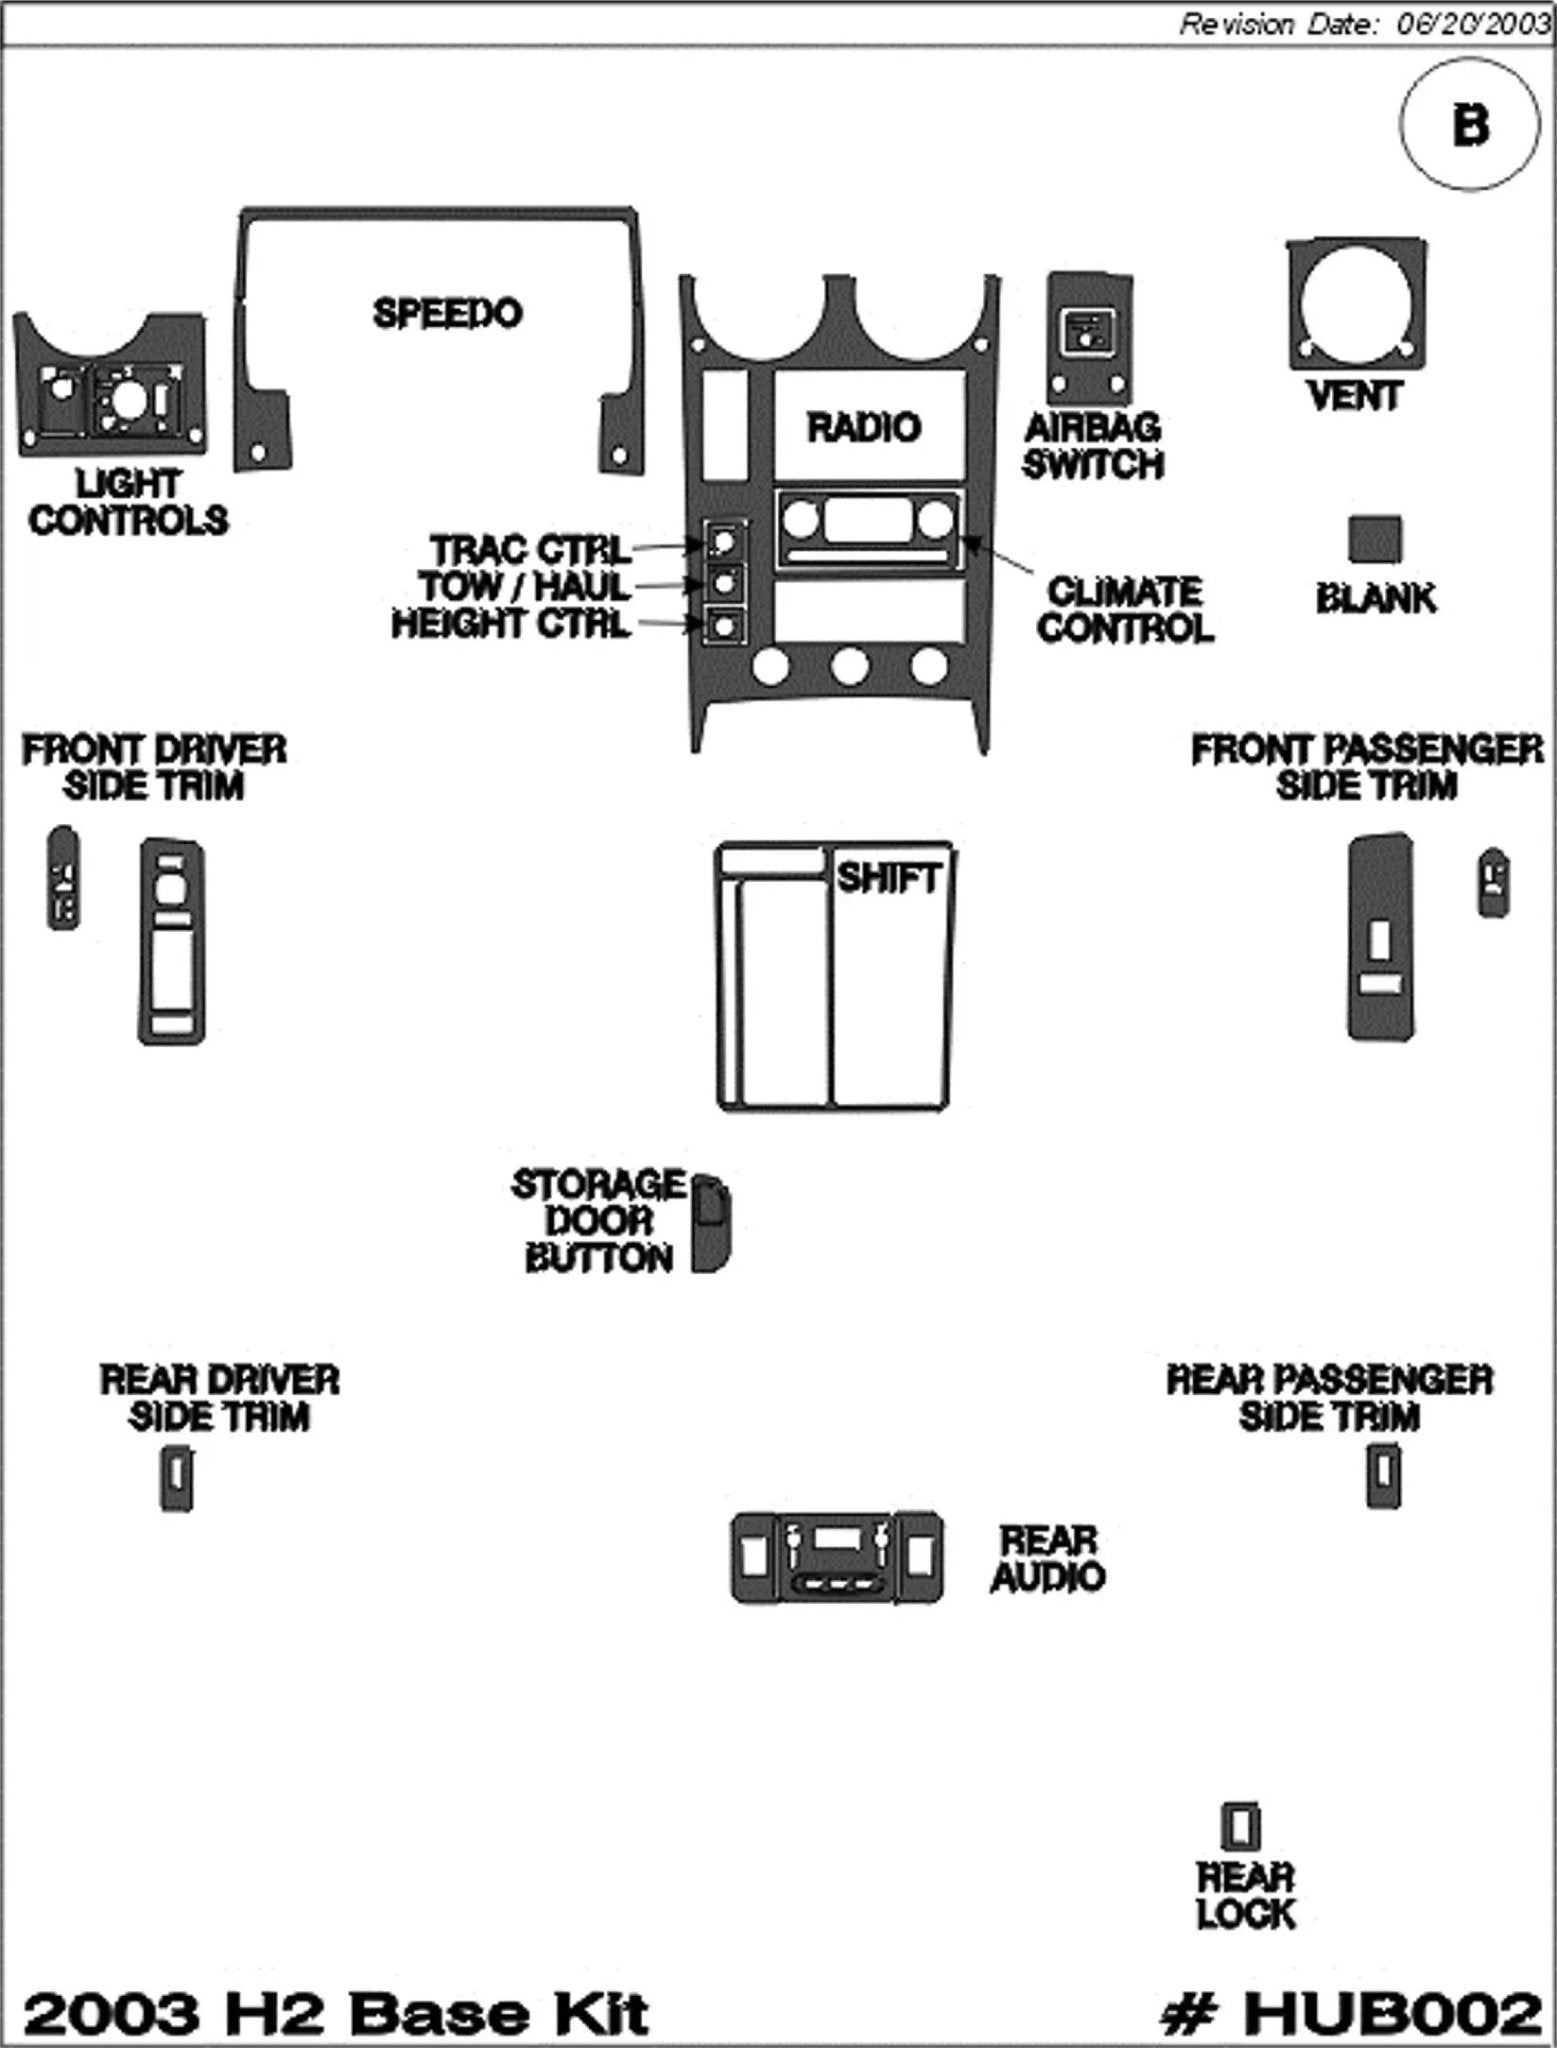

2003 Hummer H2 Real Brushed Aluminum Dash Trim Kit
Shipping calculated at checkout
Dash Kit Will Take 7-10 Business to Manufacturer !
Dash Trim Kit Features:
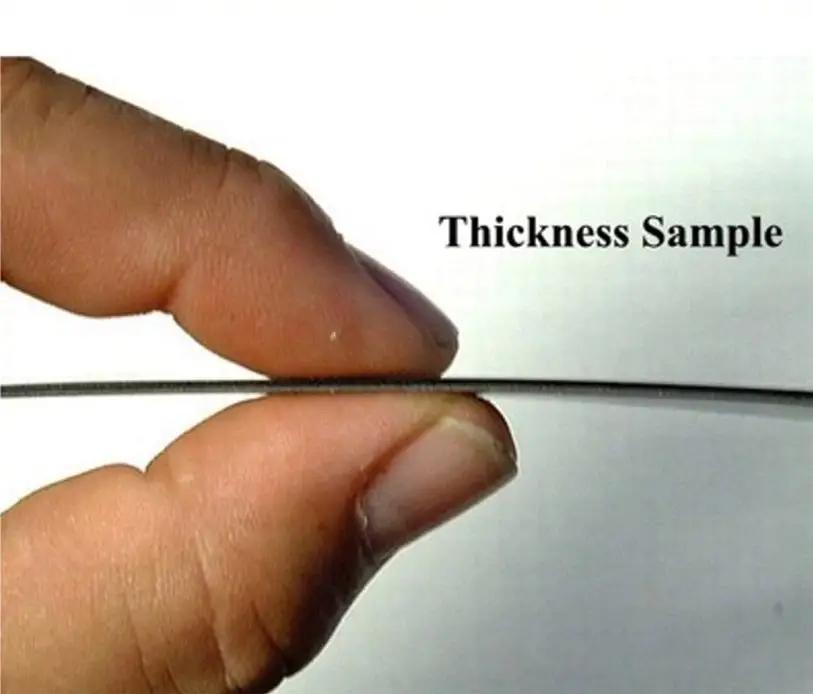
- This is Grade A "Premium Quality” Brushed Aluminum dash kit and is one of the Thinnest in the Market.
-
No Adhesion Promoter Needed or Recommended.

- Our dash kits use a promoter-less double-sided foam adhesive tape from 3M.
- All pieces are Laser Cut, for Precision Fit on your Car’s Interior.
- This is a Flat (2D) Dash Kit - Kit Installs over OEM pieces, No need to remove any parts!
- All our dash kits are made to USA Spec Left Hand Drive.
"Kits are Manufactured when purchased”
"Dash kit will take 7-10 Business Days to Manufacture"
Note: If you are interested in a Right-Hand Drive Dash Kit, please inquire before ordering.
Installation Guide
Installation Guide
Installation:
- Trim Kit is applied Over Original Trim,
- No need to remove any Parts for Installation
- Just Wipe Surface Clean, and apply Trim.
Tools and Materials Required
- Two plastic squeeze bottles. Rubbing alcohol and the second one containing clean tap water.
- A roll of paper towels.
- 1500 Watt hand held hair dryer.
- Do Not Use Heat Guns or Any Type of Open Flame, they produce too much heat and create a fire hazard. For production type environments, set up heat lamps to warm the wood pieces while the installer is cleaning the vehicle.
- 50 or 100 ft. extension cord.
- Soft polishing cloth for cleaning and polishing dash when finished.
- Turtle Wax Vinyl * Fabric Upholstery Cleaner and Protector - used upon completion of installation.
- Tweezers.
Auxiliary Heating Options
When outdoors or when circumstances permit, the best and most readily available source of heat is the vehicle’s own engine and heating system. In many cases it is the only practical way to warm the vehicle, the installer and the components that are being installed. In extremely cold weather, it may be the only option.
Use hand held hair dryer to heat each individual piece and the vehicle dash as they are being installed.
Determine which heating method is most advantageous.
- Carefully remove dash pieces from cardboard package. Dry fit all the pieces in their prospective locations. Once satisfied that they all fit properly, place them where they will be heated.
Notice: If you see what looks like water spots or hairs on the surface of the resin coating after removing the clear vinyl protective covering, do not worry. When you heat the dash these marks will completely disappear.
Warning: Cleaning is Critical DO NOT CHEAT ON ANY OF THE CLEANING PROCESS!
- Use paper towels and clean liberally. Small amounts of silicones or impurities can and will foul the tape. It is important to use squeeze bottles to avoid contaminating the liquid cleaners.
- When satisfied that the area is clean, do the same procedure with the clean water. Allow the dash to dry thoroughly before installing any pieces.
- When everything is warm, carefully take the dash pieces one at a time, and remove all of the clear backing from the tape using the tweezers. Place each piece into position, being careful not to press them until you are certain that they are where they belong. If necessary to reposition, use the hair dryer to heat the piece and slowly peel the piece from the dash.
- Warning: No Stretching or Pulling or Overheating of the pieces. Remember to always work with the dash from the top to bottom, bottom to top or from one side to the other and roll the dash into position. Never set two ends and push in the center section. This will stretch the dash, which will cause it to come off or fracture later with the constant heating and cooling that takes place within the vehicle.
- When all the pieces are in place, take the polishing cloth and firmly press them onto the dash, using heat if necessary. Make sure all parts are adhered firmly to the dash. Clean and polish with Turtle Wax. Never apply waxes or cleaners directly to the dash. Spray them on the cloth and wipe the dash.
Warning: Remove All Cleaners and Protectants. When installing in used vehicles or new vehicles that have been detailed, check for Armor-All or other dash preservatives. If they are present it may be necessary to repeat the cleaning process 10 or more times to make sure it is clean.
NEVER USE TAPE PROMOTERS WITH THIS PRODUCT!